
I can't help but feel as though there's a big misconception between contour and bronzer. I can't remember what beauty youtuber mentioned it, but it's a trend I've been noticing for a while now. I used to think that they were interchangeable. You used a bronzer to contour your face. But then I kept noticing that in photos, my face didn't really look sculpted. It looked.. odd. Where it should have looked like natural shadows, it seemed too warm/too brown for my face. It looked out of place.


I know it doesn't look the worst here, but trust me that it was noticeable.
And that is when I realized that contours and bronzers are not the same thing and should (probably) not be used interchangeably (at least on my personal skintone.)
(As a personal disclaimer, let me just say that I do not have a warm skin tone whatsoever. I have very cool-toned skin, and as a result any kind of warm shades look off on me; this is how I came to this conclusion. I know that it will not apply to everyone and that warm bronzers might be perfect for some people. They just aren't for me.)
(As a personal disclaimer, let me just say that I do not have a warm skin tone whatsoever. I have very cool-toned skin, and as a result any kind of warm shades look off on me; this is how I came to this conclusion. I know that it will not apply to everyone and that warm bronzers might be perfect for some people. They just aren't for me.)
To some of you, that might be old news. To others, it might be a revelation for you like it was for me. I have the featured product to thank for my revelation - NYX Blush in Taupe.
I'm going to say this now - I'm not saying that Taupe is the perfect contour shade for everyone. It does, however, look like a natural shadow on your face as opposed to an unnatural (at least one me and my skin tone) brown shadow.
Taupe is a blush that I'd heard about forever, but because I had already invested in Benefit's Hoola, I thought that I was set for the long run in terms of a bronzer. Besides, Taupe was always sold out whenever I remembered to look for it in ULTA. It was only when I was looking through my Amazon wish list, wanting to treat myself, that I saw that it was in stock and bought it on impulse.

When it arrived, it took me a while to even bothering unwrapping it and using it. Meh, I thought, I've got Hoola. It was only one morning, when I grabbed Taupe by accident and decided to use it, that I did a double-take in the mirror. It was like night and day from the effect that Hoola had on my cheekbones and jawline. Whereas Hoola looked slightly unnatural on my skin, Taupe was like free plastic surgery. Taupe looked like a natural shadow had sprung up on my skin and given my cheekbones a fresh breath of life. After highlight, they looked divine. I don't use that word lightly.
Swatches, pictures, and comparisons between Hoola and Taupe after the jump!

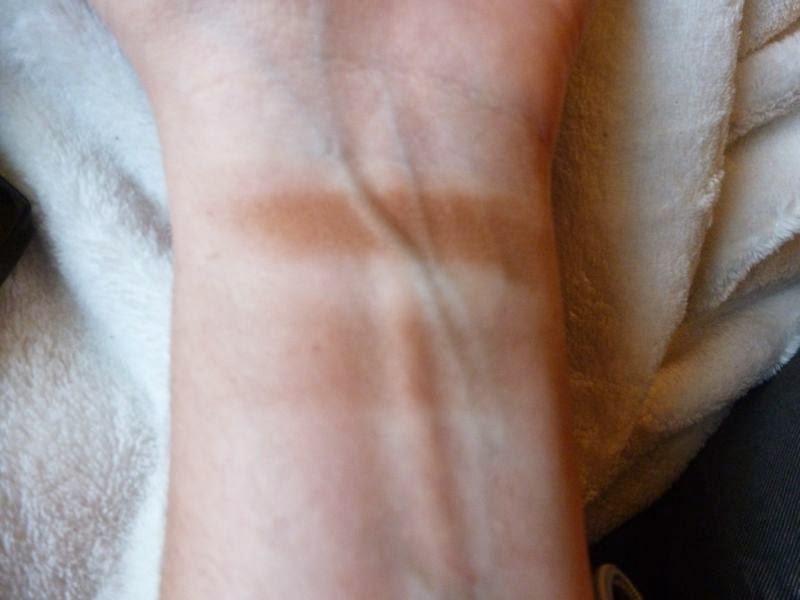
That's not to say that Taupe isn't brown. It's taupe, so it does have some brown to it, but it also has a greyish-purple tone to it that gives it more of a shadow effect. Hoola is definitely more of an orangey warm-toned brown, so that may have also been why it looked less than natural on my skin. I'll try and let my swatches do the talking for me.


Taupe is on the left, Hoola on the right.


Hoola on top, Taupe on bottom.
As you can see from the swatches above, Taupe doesn't have as much color payoff as Hoola does. It's a bit harder in formula, not as powdery as Hoola, but I find that to be a plus in terms of applying it. I already have cheekbones that are fairly defined on their own, so I don't need to do as much contour as others may need to.

Above are how my cheekbones look pre-contour. There's a definite shadow, but I just like to add more definition. My favorite brush to use is the ELF flat-top powder brush. I love the flat top for really sculpting out beneath the cheekbone and placing the powder. It makes blending Taupe out effortless.


I usually swirl the brush around in Taupe once or twice, tap off the excess, and then blend down towards my mouth (but not TO my mouth or even within an inch or two near my mouth, because that looks a bit unnatural for me. Sucking in your mouth to show the shape of your cheekbones really helps a lot with this process, as shown below.

After Taupe is applied, I'll usually run the brush back and forth along the placement a few times to blend it out, blending more as it gets further down the cheek. If I want a really sculpted look, I'll add more Taupe just to around my hairline/corner of my cheekbone and blend it out slightly.

Taupe applied on right cheekbone - none on left.

Taupe applied on left cheekbone - after.
Overall, I just really love this product. I don't think I'm going to be using Hoola again anytime soon since I don't tan and I revel in being pale. I really can't get over how much better this goes with my skintone (MAC NW 15, for reference) and how it looks so natural and seamless. If you're in the market for a contour and you're on the fairer side of skintones, I'd recommend trying this out!
I got my NYX Blush in Taupe from Amazon for $6.93.
No comments:
Post a Comment